How to create and customise a checklist (list of subtasks)?
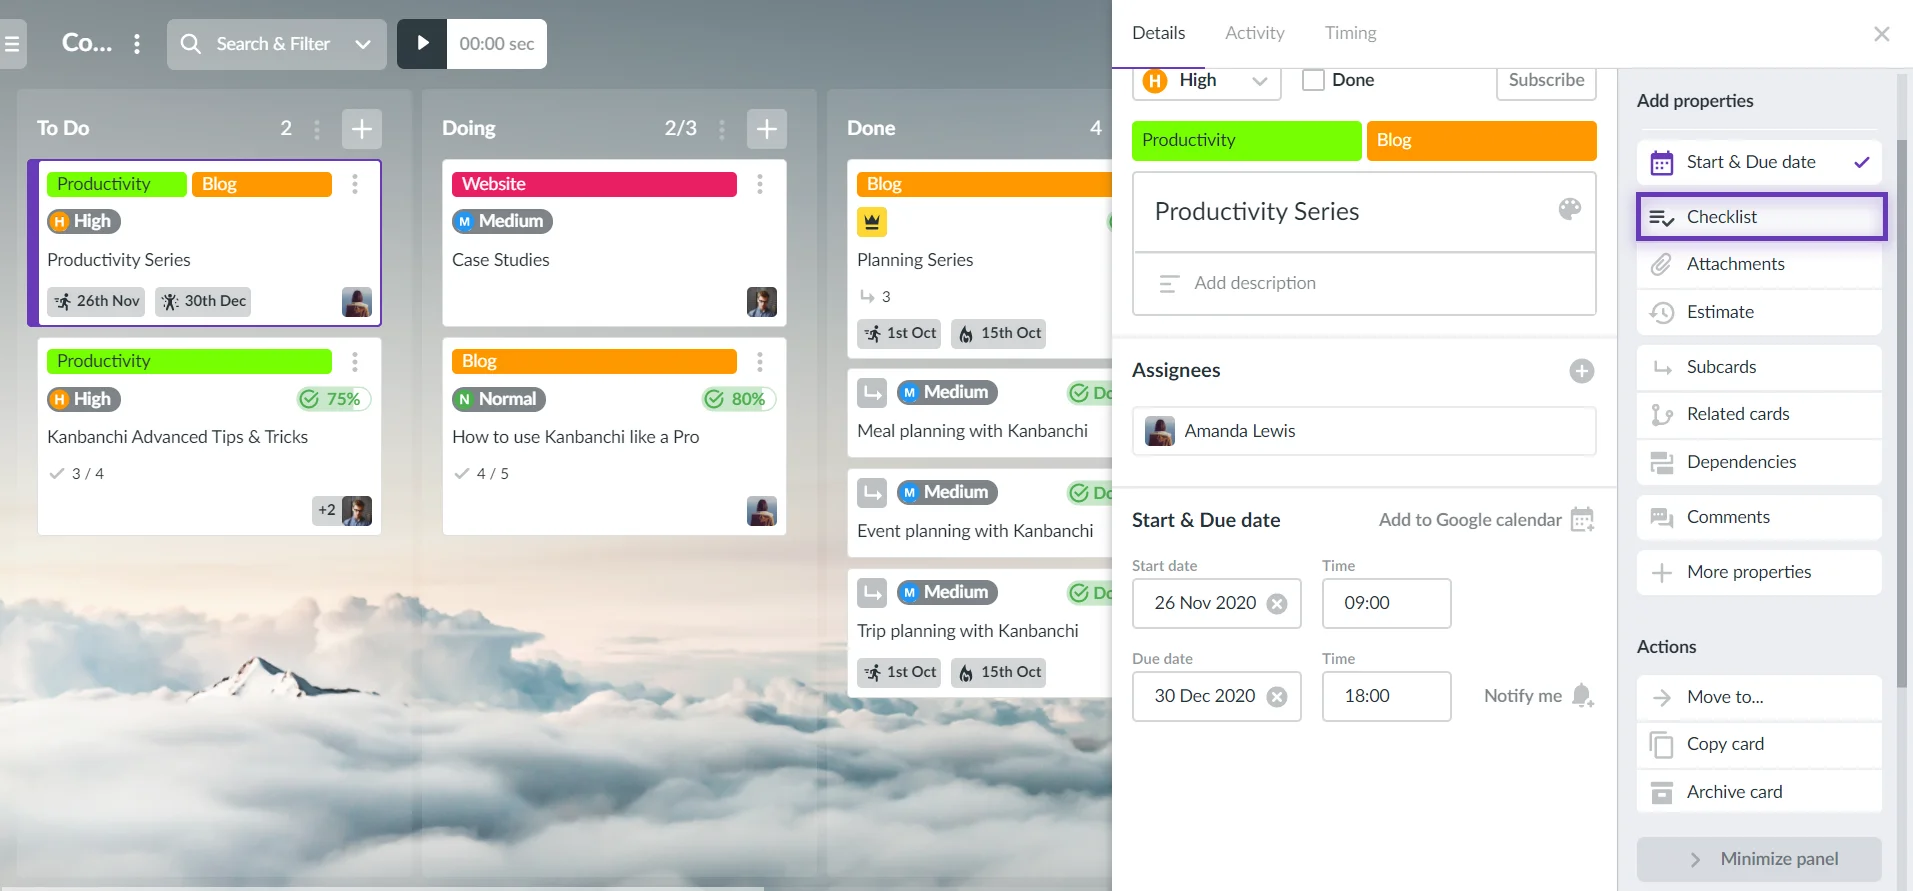
To create a checklist, open the Card Details and click the Checklist button in the right-side panel. Type an item in the field and then press Enter. You may add URLs in checklist items and they will be automatically transformed into hyperlinks. Also, you may copy and paste a list of tasks from a spreadsheet or a document.
To assign an item to a user, hover it and click ![]()
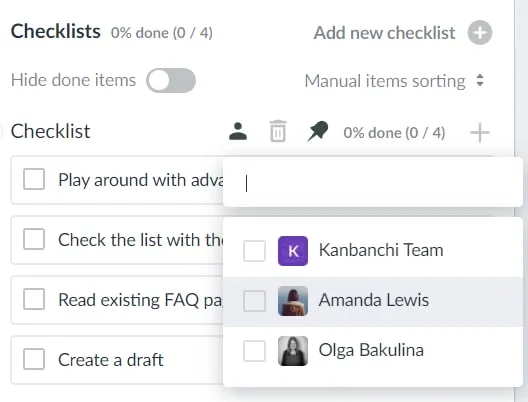
To bulk assign a checklist to a user or multiple users, click ![]() and select users from the drop-down list.
and select users from the drop-down list.
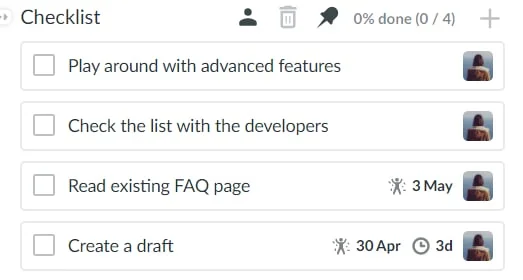
To edit a subtask, click on its title, make amendments, and then click Save.
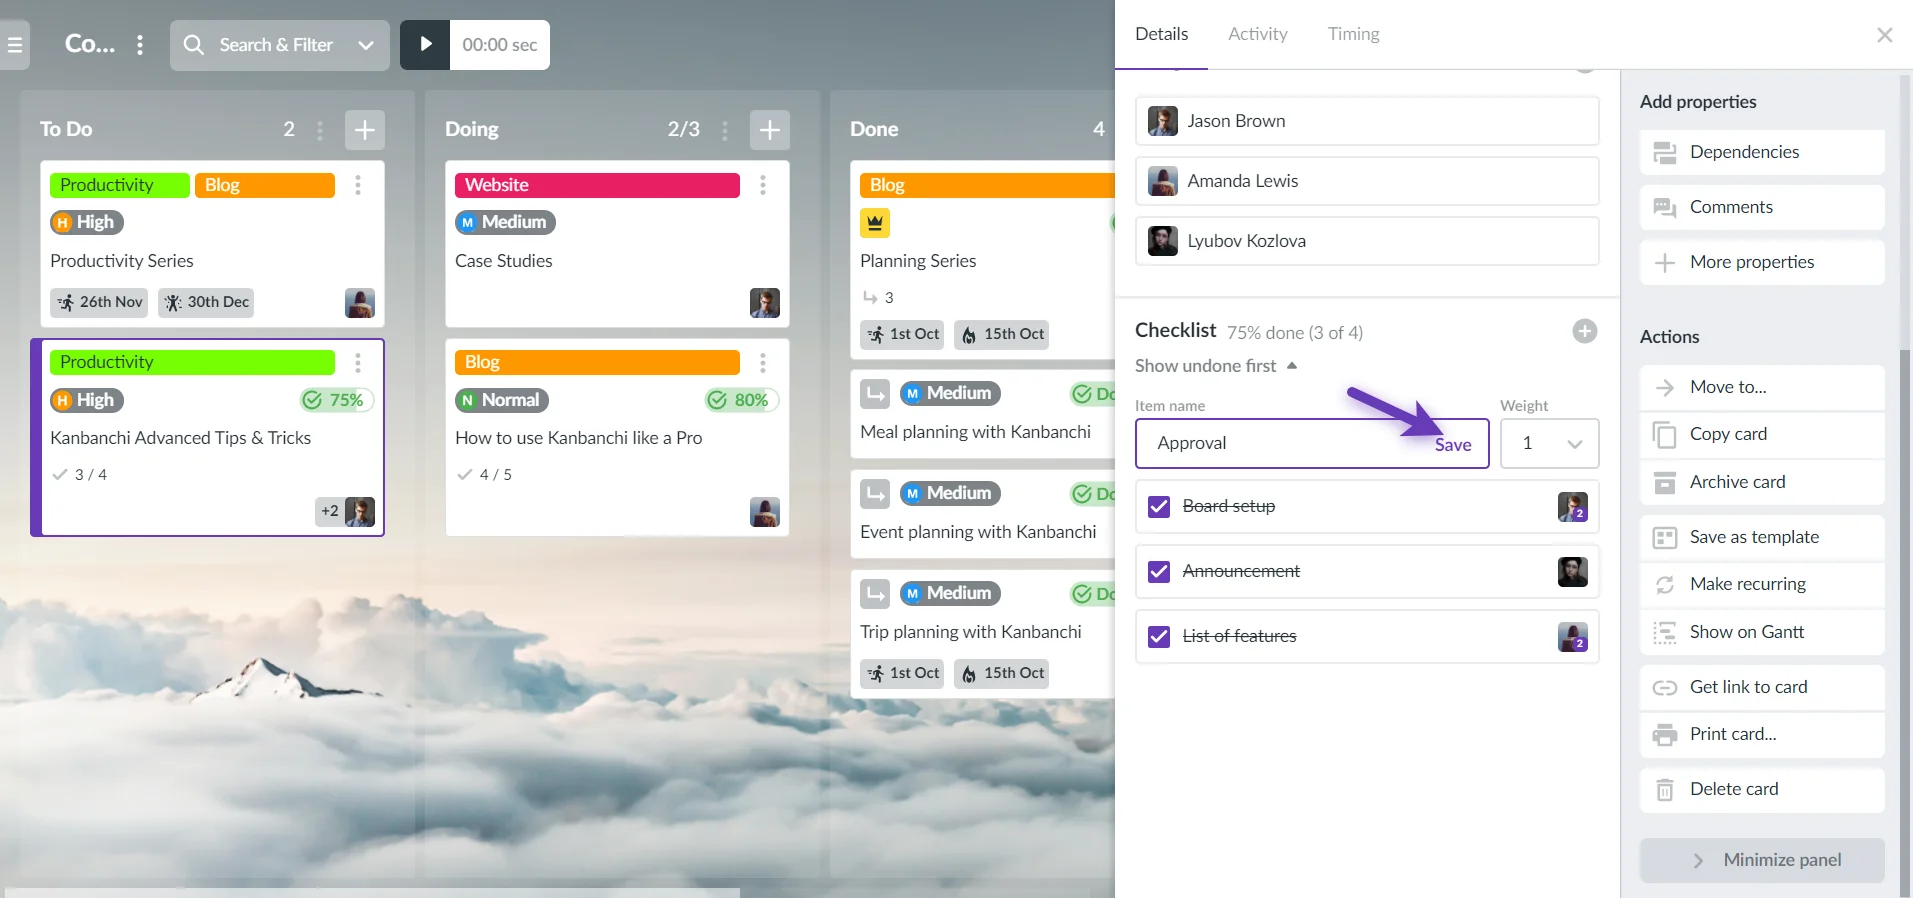
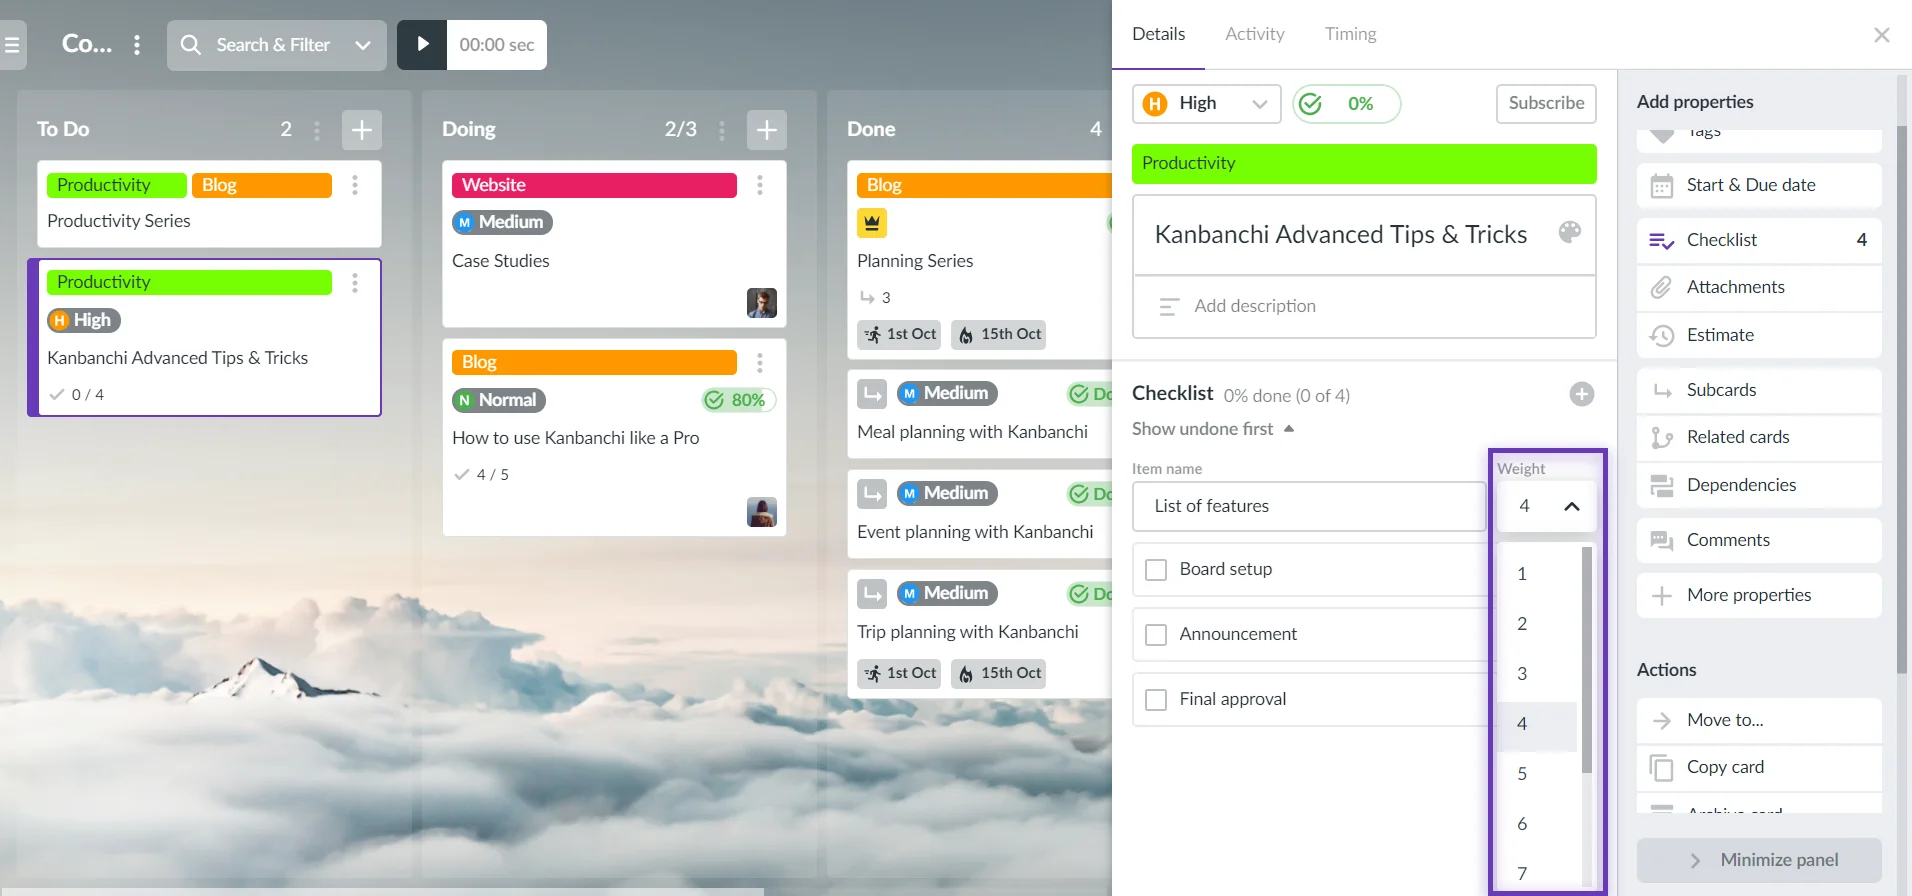
To give various weight to subtasks,click![]() and choose the appropriate value.
and choose the appropriate value.
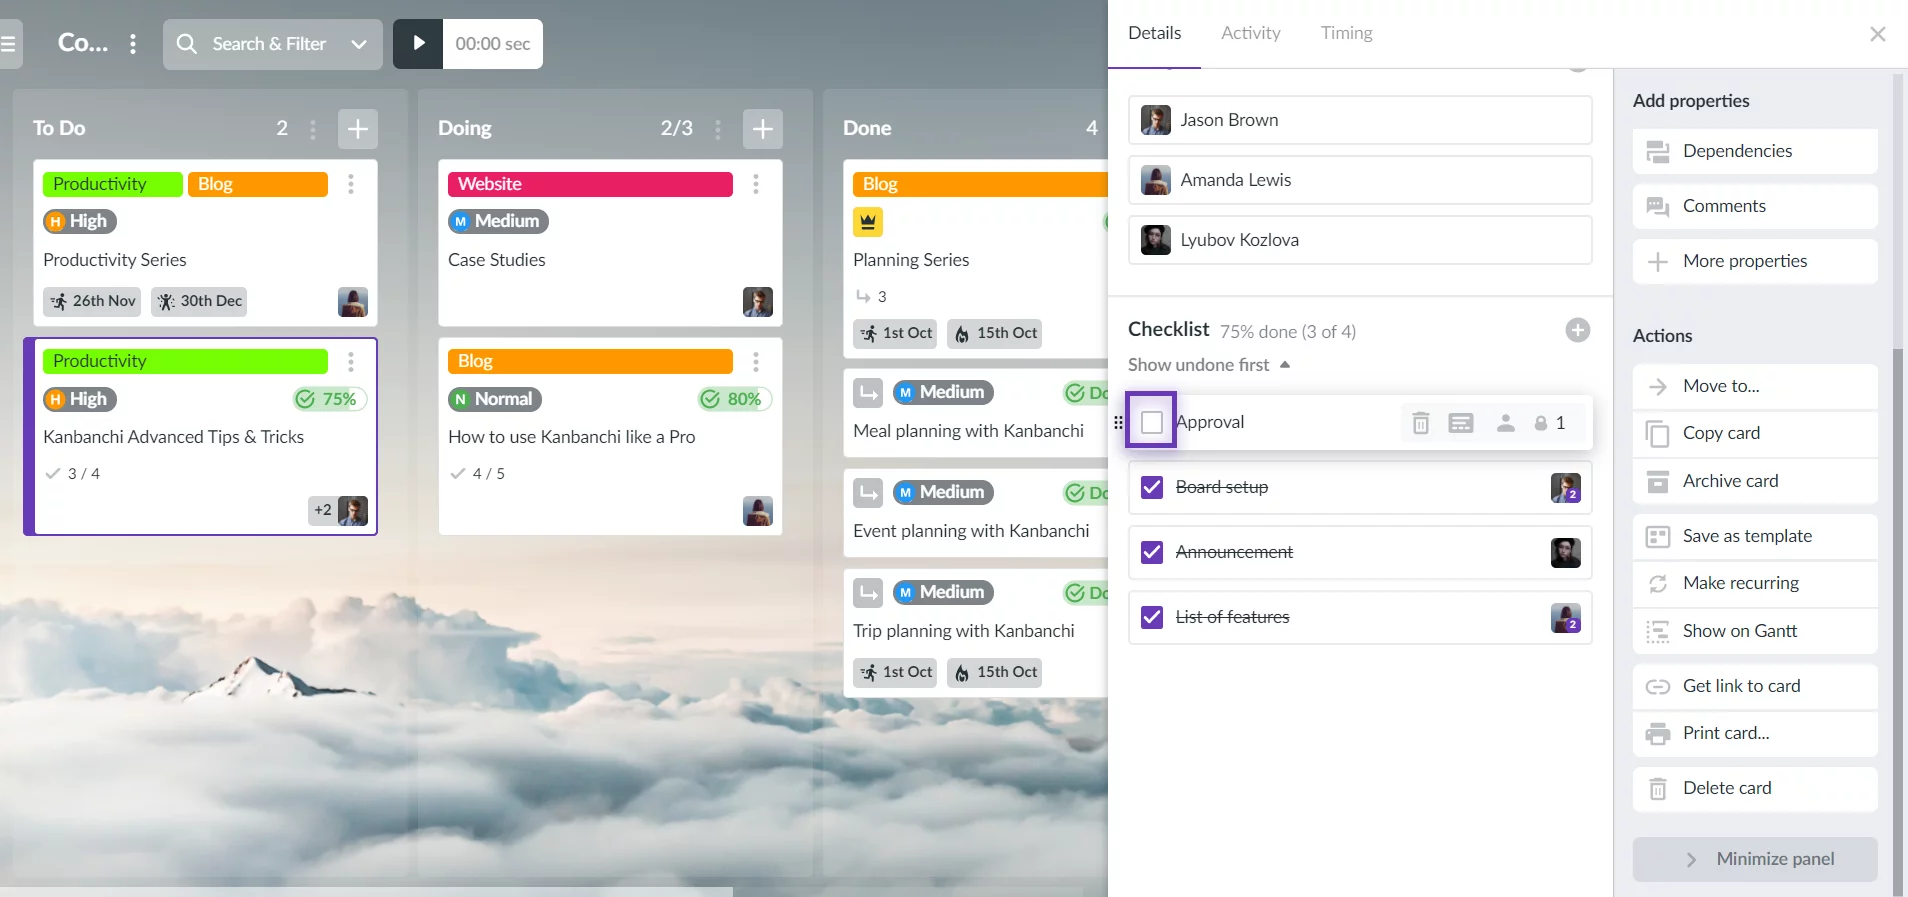
To mark a subtask as complete, toggle the checkbox opposite to the task. When you mark checklist items as Done, you will see a progress change on the progress bar. Percents are calculated proportionally to item weight. When you mark the last checklist item as Done, card status changes to Done unless it doesn’t have any subcards, which affect progress calculation.
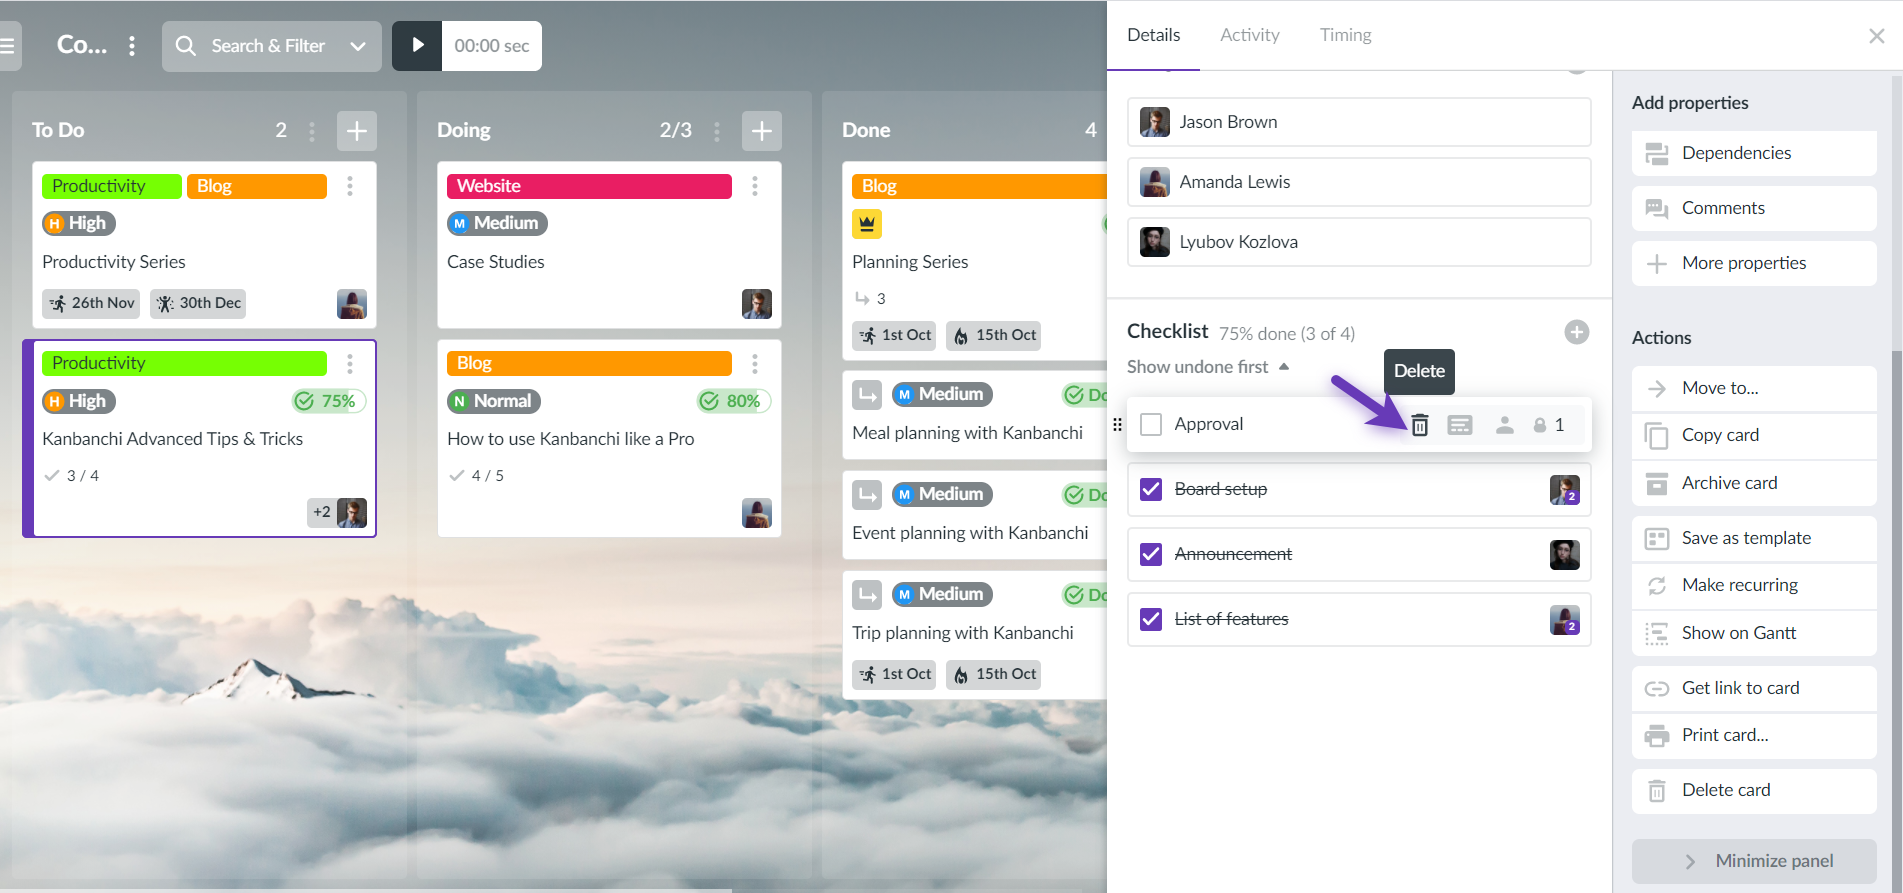
To remove a checklist item, click on the Trash button opposite to it.
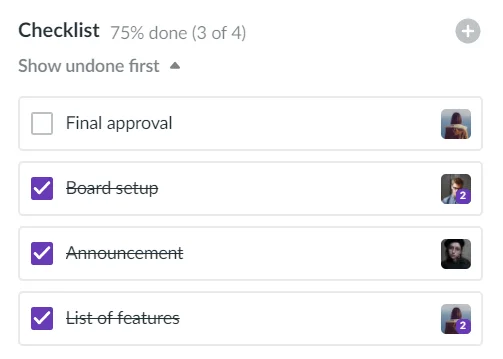
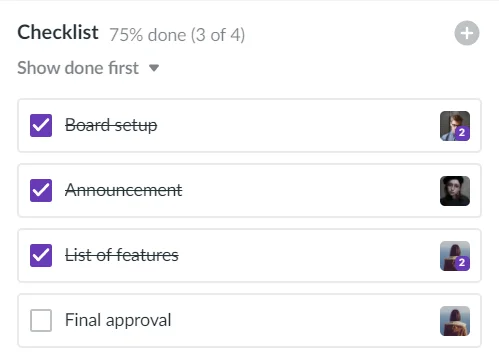
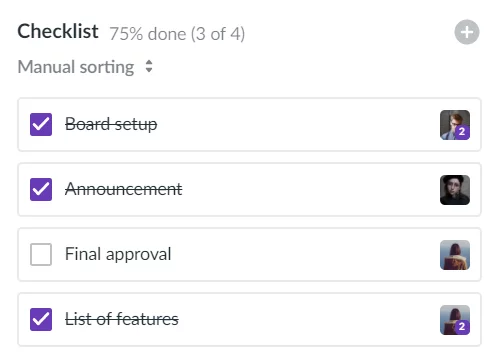
Three sorting options are available: undone items first, done items first and manual sorting. To reorder items, hover you mouse cursor on a particular item, click and hold a sign, then move your item.
![]()
To convert an item to a subcard, hover the item and click
Besides creating a new checklist, you may copy the existing one from the card or template, for more details review the following FAQ:
